

How To Repair Holes In The Door?
Hollow-core doors offering a lot of benefits. They are more affordable than their counterparts made of solid wood, let you paint them as per your dwelling house's interior and are able to withstand normal wear and tear. That's where the good news end.
Unlike solid forest doors that can take a chirapsia without showing any signs of abuse, 1 unfortunate accident (like a screwed-in claw) can puncture a pigsty in hollow doors. Such a gap non only looks bad, but it can likewise damage the door'due south integrity if left unattended for long. Only you don't need to worry
That's considering the steps for how to prepare a hole in a door are piece of cake to follow. You tin check out beneath video to verify this claim. All you need to have are a few inexpensive tools and a couple of gratuitous days and you can patch upwardly the hole on your ain. There'south no demand to pay a habitation repairer to do the job.
Earlier you fix the hole in the door
Here'southward what y'all need to practice:
Prepare the hole
Follow the steps to set up the hole for repairing:
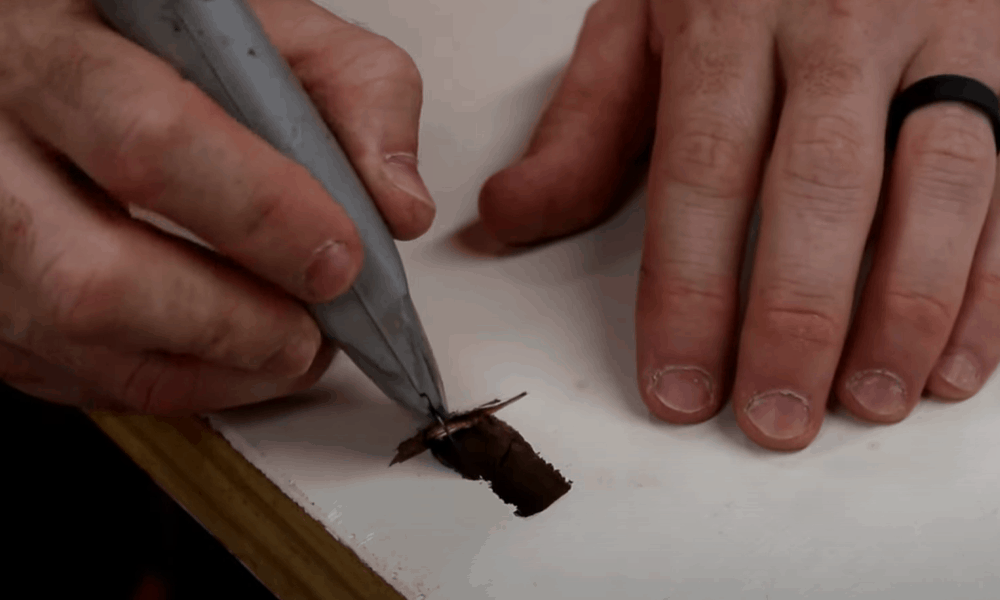
- Clean the hole: Regardless of how the door was damaged, the pigsty might have some fragments or loose splinters that you cannot repair. It's best so to remove them abroad using a utility knife to get a clean hole that doesn't have any rough edges.
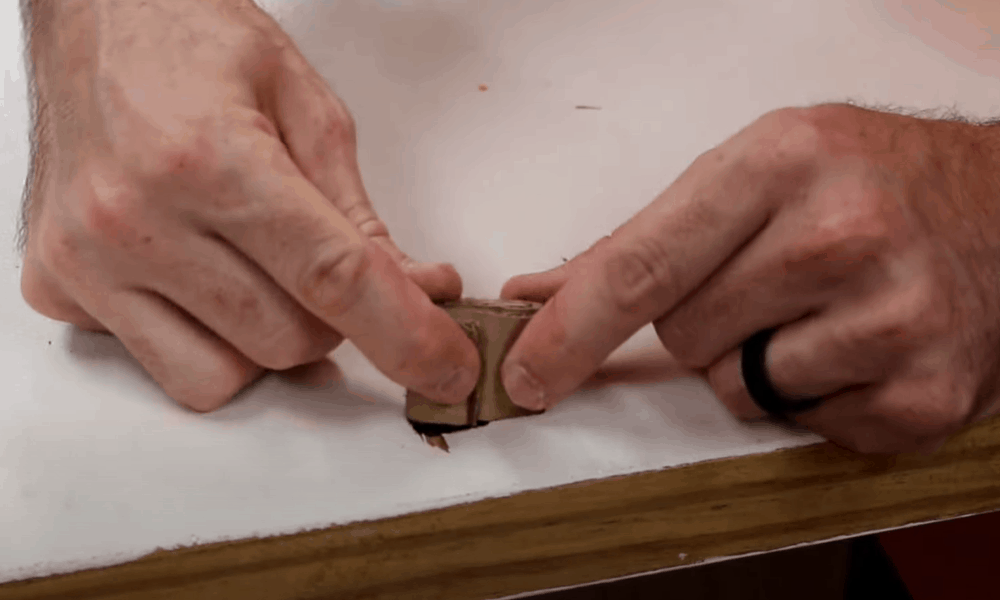
- Pack it with paper towels: Catch a few newspaper towels, bunch them together and stuff them into the hole. Y'all can also stuff the hole with some tissue paper or something lightweight if you don't have paper towels.
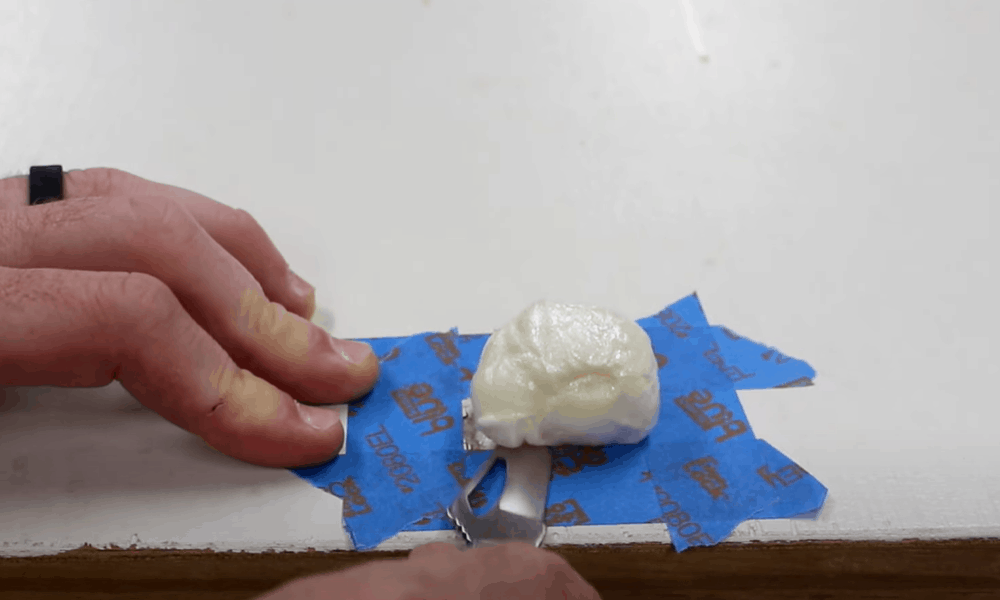
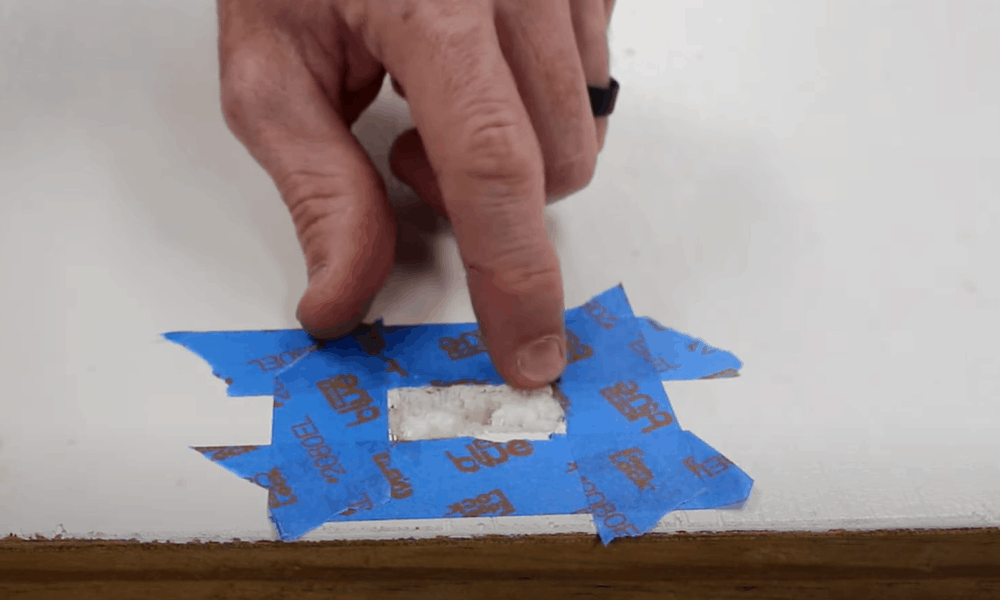
- Spray expanding foam insulation into the hole: Available in a spray tin can with a long nozzle, expanding foam insulation will protect the hole from attracting droppings. Betoken its nozzle towards the hole and keep on spraying until the hole is full. Let it dry overnight.
- Remove the excess cream: The excess spray foam will have expanded outside through the pigsty, both on the inside and the outside. Remove it by running a utility knife downwardly the face up of the door. No foam should be sitting 2.5mm below the face of the door afterwards.
- Utilize car-body filler into the hole: Mix 1 office of a hardener catalyst with two parts of an auto-body filler. Use the border of a utility knife to lubricate the hole with the resulting mixture. There shouldn't be any gaps in the hole one time you lot're washed smearing it with the filler.
- Let the filler dry: Most auto-body fillers available on the market have a 1-hr drying time after which they go hard to the touch. Simply if you desire to exist extra careful, check the instruction manual of your filler to determine how long it volition accept to dry out fully.
- Sand down the door: The machine-trunk filler might have accumulated in the form of a layer over the door. Y'all demand to sand it down with 100- to 120-grit dust sandpaper. Keep on sanding until the surface where you applied the filler is level with the residue of the door.
What y'all'll need for repairing holes in doors
Here'southward a list of all the tools and equipment you'll need to repair and patch the hole:
- Heavy gloves
- 320-grit sandpaper and 220-grit sandpaper
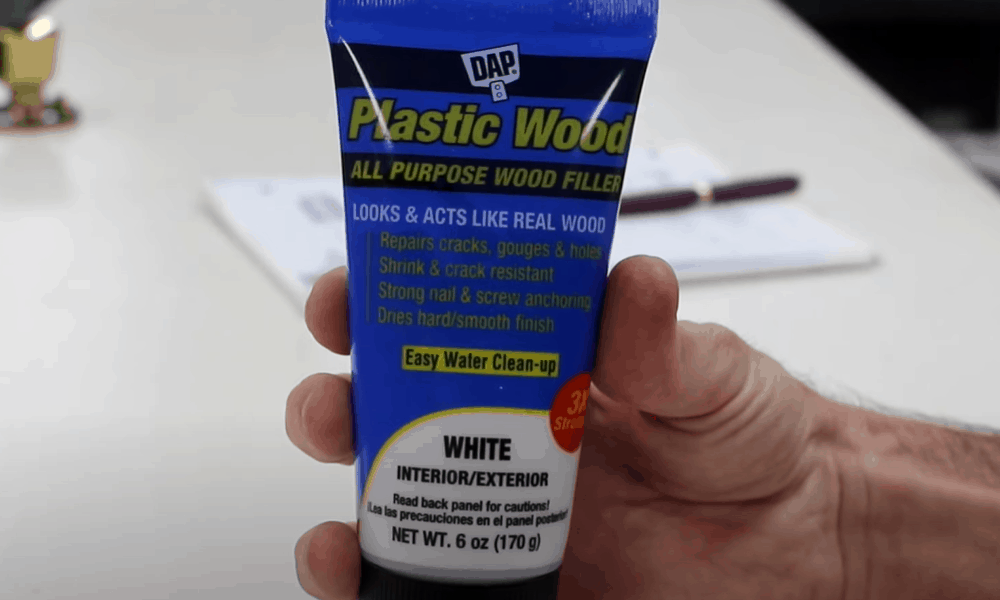
- Wood filler
- Putty knife
- Sponge or clammy paper towel
- Vacuum cleaner
- Screwdriver
- Hammer
- Paint or woods stain
- Pigment roller
Footstep-by-Step Guide fox fixing hole in door
Follow these steps to gear up a pigsty in a door:
Step ane: Sand away paint and loose splinters
Wearable a pair of heavy gloves and sand down all those areas where the wood is splintering and/or the paint is peeling. Thoroughly make clean the entire area in one case you're done sanding it. Acquit in mind that you lot're going to patch the area in the upcoming steps.
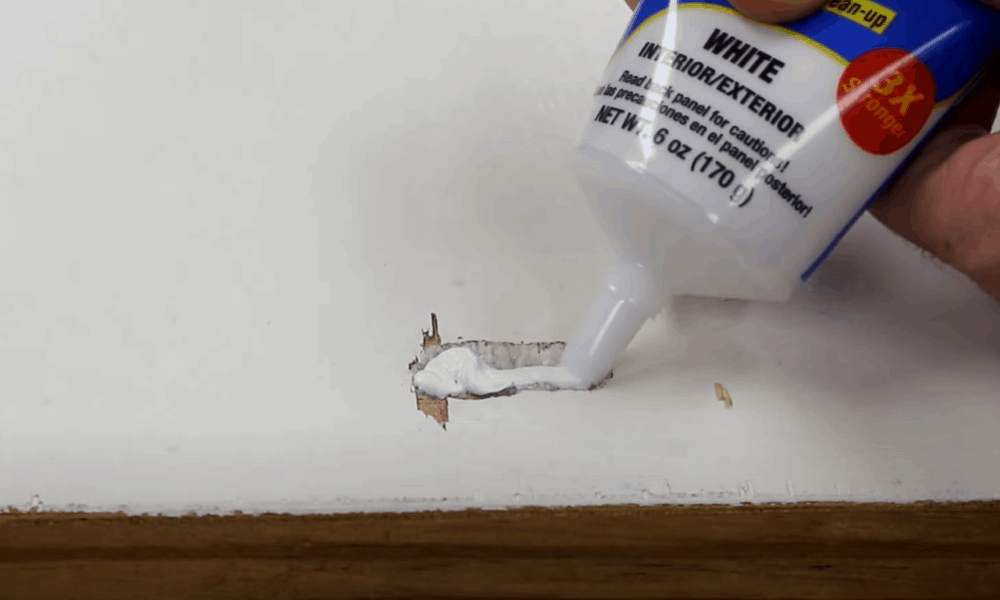
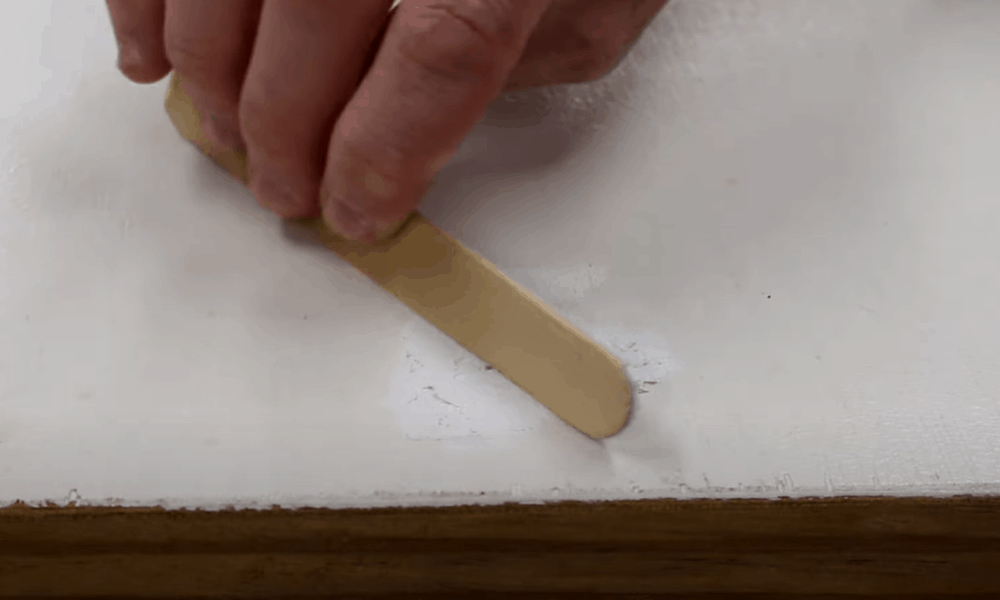
Step ii: Apply forest filler onto the scratched area
Squeeze a bead or two of wood filler onto the utility pocketknife and then spread information technology over the expanse yous have just cleaned. Keep on spreading the filler until you lot attain a polish finish. The area where y'all've applied the filler should exist at the aforementioned level as the rest of the door.
Afterwards, let the filler dry out. It might need between fifteen minutes and half-an-hr to settle into all of the scratches and become solid to the touch. Don't let anybody or yourself bear on the filler during the drying time.
Pro Tip: Woods filler is available in 1 of 2 configurations. You lot tin either become it in a pre-mixed form, or it volition exist available in 2 separate parts that would need mixing. Provided information technology's the latter that you lot have purchased, follow the instructions given in its manual to mix it and become the best results.
Footstep 3: Sand downward the filler
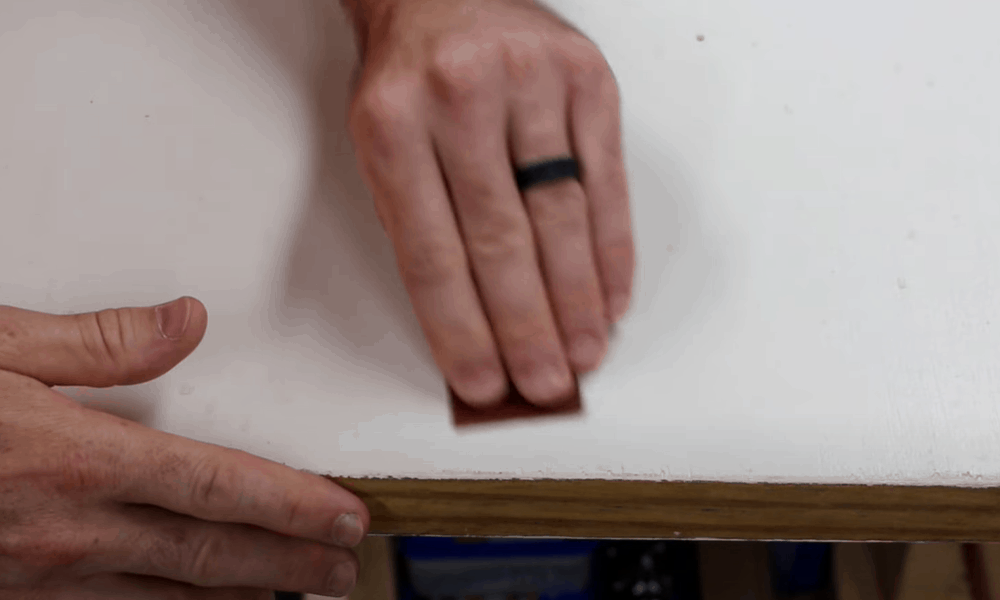
Once the filler has dried downwardly, you might notice that the area where you've applied it isn't level with the rest of the door. To make sure information technology gets on the same level as that of the unscratched expanse, use a 320-grit sandpaper to sand down the wood filler.
Sand down in smooth, round strokes to flatten the surface. Don't paint the door afterward equally it will but make the irregular bumps more apparent. Run the palm of your hand over the sanded surface area to make sure it doesn't demand any more smoothing.
Step iv: Clean the sanded area
Yous may notice that the scratched area looks ruffled after sanding. That's mainly because sanding creates a lot of dust and debris that tin can ruin the appearance of the door. To aid the door regain its original appearance, clean the sanded area with a sponge or a damp paper towel.
Step 5: Sand down the cleaned area
While you previously used a 320-dust sandpaper to smoothen the door, at present apply a 220-dust sandpaper to do the aforementioned. You're doing it to make certain that the paint or wood stain that you lot're going to apply to the door in the upcoming steps will stick evenly.
Once once again, there will be grit and debris in the aftermath of sanding. You can either use a damp textile or a dry out vacuum cleaner to wipe them away.
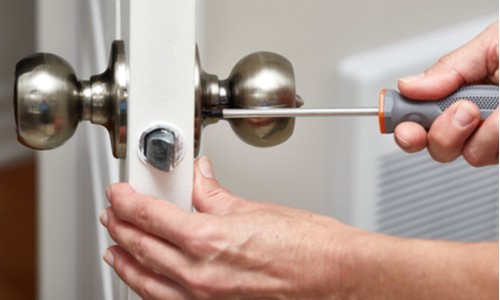
Step 6: Detach handle, hardware and hinges from the door
Since sanding the door volition have made sure areas uneven, in that location are two ways using which the entire door can regain an even cease. Y'all tin can either paint the surface area that yous repaired, or yous can remove all the hardware from the door and pigment it entirely. We recommend y'all take the latter route.
Remove the door lever/doorknob, hinges, and a strike plate using a screwdriver. Don't use an electrical drill to unscrew the screws as it tin can harm the door.
Step 7: Pigment the door
Brand sure you end up choosing the right color paint for your door. You can practice that past either consulting an employee at your local hardware shop or, if possible, take a sample of your door to the hardware shop for color matching. The same can be a piece of door you sanded away in the previous steps.
After getting the right pigment for your door, utilise a unmarried glaze of pigment using a paint roller. Start past painting the panels or grooves and then pigment the rest of the door with long, fifty-fifty strokes. This way, you won't run the risk of leaving visible lines behind.
Pro Tip: Worried that the entire paint job will go out a mess behind? And so embrace the surface area underneath the door with some old newspaper or drop material.
Step 8: Permit the pigment dry after the first glaze
Experts recommend that you lot should leave the first paint coat to dry for 3 to iv hours. Nobody should come up close to the door equally even slight contact with the door can ruin the finished await. You might have to take extra intendance to salve the door from accidental contact if it'due south in a room that receives more foot traffic than others.
Step 9: Apply the 2nd coat of paint
Each upcoming coat will darken the color of the paint and enhance the looks of the door. You should simply apply the 2nd glaze after the first glaze has dried. It will help comprehend-up any imperfections that lay bare after the first glaze. Let nobody touch the 2nd coat until it becomes solid to the touch.
You may utilise every bit many coats as you want, simply your door volition get-go looking fantastic after the 2nd glaze. Too, since a paint takes several days to cure completely – especially if it's an interior paint, you might want to consider this factor when deciding the number of coats you should utilise to the door.
Conclusion
You might have guessed past now that fixing a pigsty in a door requires more patience than try. The entire process can be completed in a matter of a few hours provided you lot follow the abovementioned instructions to the letter. Also, if you spotter the video that we have recommended, it will help you sympathise the whole procedure. Nonetheless, if you striking a clogging, please feel gratuitous to arrive touch.

Source: https://www.wcmanet.org/how-to-fix-a-hole-in-a-door/
Posted by: mckinneysormse.blogspot.com
0 Response to "How To Repair Holes In The Door?"
Post a Comment